


Feel Good Fuel. The Weekly Roundup
Seven nourishing, gluten-free, gut-healthy, delicious, and easy to follow recipes.


Orange Olive Oil Cake (Made with Almond Flour and Natural Sugar)
This light and citrusy cake uses almond flour and olive oil, making it gluten-free and packed with healthy fats. Naturally sweetened, it’s perfect for a guilt-free dessert.
Ingredients:
- 1 1/2 cups almond flour
- 1/3 cup olive oil
- 3 large eggs
- 1/2 cup honey or coconut sugar or raw cane sugar
- Zest of 1 orange
- 1/4 cup fresh orange juice
- 1 tsp baking powder
- 1/4 tsp sea salt
Instructions:
1. Preheat your oven to 350°F (175°C). Grease a 9-inch round cake pan with olive oil and line the bottom with parchment paper.
2. In a medium bowl, whisk together almond flour, baking powder, and sea salt.
3. In a separate large bowl, whisk together eggs, olive oil, honey (or coconut sugar), orange zest, and orange juice until smooth and well-combined.
4. Gradually add the dry ingredients into the wet mixture, stirring until smooth. Pour the batter into the prepared cake pan. Bake for 30-35 minutes, or until a toothpick inserted in the center comes out clean.
5. Let the cake cool completely in the pan before removing. Serve with a dusting of powdered sugar or a drizzle of honey.
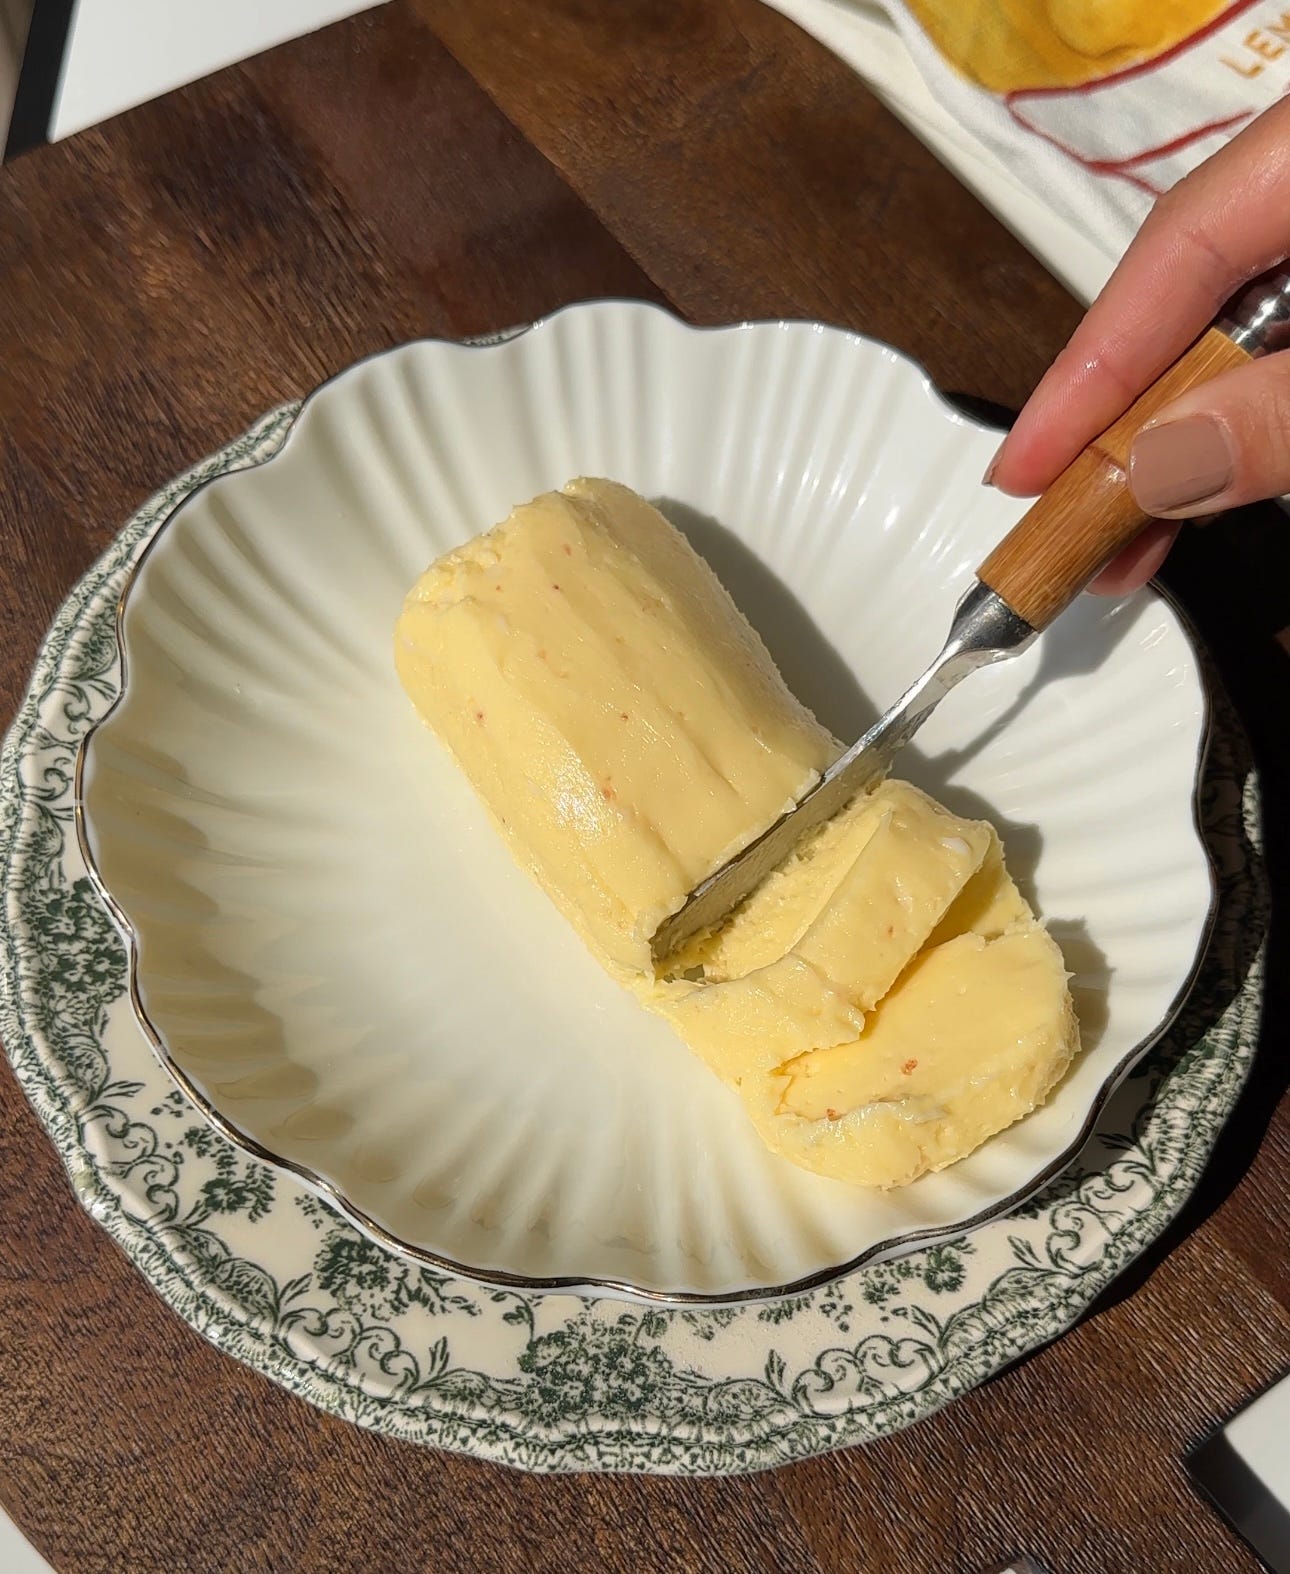
Raw Grass-Fed Herb and Garlic Homemade Whipped Butter
A rich, creamy butter made with raw grass-fed cream, garlic, and herbs. This recipe is packed with gut-healthy fats and adds a burst of flavor to any dish.
Ingredients:
- 1 cup raw grass-fed heavy cream
- 2 garlic cloves, minced
- 1 tbsp fresh thyme, finely chopped
- 1 tbsp fresh parsley, finely chopped
- 1/4 tsp sea salt
Instructions:
1. Pour the raw heavy cream into a stand mixer or use a hand mixer with a whisk attachment. Start whipping at medium-high speed.
2. After about 8-10 minutes, the cream will first thicken into whipped cream, then continue whipping until it separates into butter and buttermilk.
3. Once separated, strain off the buttermilk (save this for baking or drinking). Scoop the butter into a fine-mesh strainer and rinse under cold water, kneading gently to remove any remaining buttermilk. Continue rinsing until the water runs clear.
4. Mix in the minced garlic, fresh herbs, and sea salt. Whip the butter for another minute to fully incorporate the flavors and achieve a fluffy texture.
5. Transfer the whipped butter to a jar or butter dish and refrigerate. It will last up to 2 weeks.
72-Hour Fermented Gluten-Free Sourdough Margarita Pizza (with Dairy-Free Cheese)
This gluten-free sourdough pizza dough is fermented for 72 hours for maximum flavor and gut health benefits. Topped with dairy-free mozzarella and fresh ingredients, it’s a must-have for pizza lovers.

Ingredients for Dough:
- 1 cup gluten-free sourdough starter
- 2 cups gluten-free all-purpose flour blend
- 1 tsp sea salt
- 1 cup filtered water
- 1 tbsp olive oil (for brushing)
Toppings:
- 1/2 cup tomato sauce
- Fresh basil leaves
- Dairy-free mozzarella or any plant-based cheese
- Olive oil for drizzling
Instructions for Dough:
1. Mix the dough
In a large mixing bowl, combine your gluten-free sourdough starter, gluten-free flour, sea salt, and water. Mix until a dough forms, then knead lightly to ensure everything is well-combined.
2. Fermentation
Cover the bowl with a clean kitchen towel and let the dough rest at room temperature for 12 hours. Then, transfer the dough to the fridge for another 60 hours to continue fermenting. This slow fermentation process develops flavor and aids digestion.
3. Shape the dough
After 72 hours of fermenting, remove the dough from the fridge and let it come to room temperature for about 1 hour. Preheat your oven to 450°F (230°C) with a pizza stone or baking sheet inside.
4. Roll and prepare
Lightly flour your work surface with gluten-free flour and roll the dough out into a thin circle. Brush the top with olive oil. Carefully transfer the dough onto the preheated pizza stone.
5. Assemble the pizza
Spread tomato sauce over the dough, then top with fresh basil and dairy-free mozzarella. Drizzle a bit of olive oil over the pizza for extra flavor.
6. Bake
Bake in the preheated oven for 10-12 minutes, or until the crust is golden and crispy. Remove from the oven and enjoy!
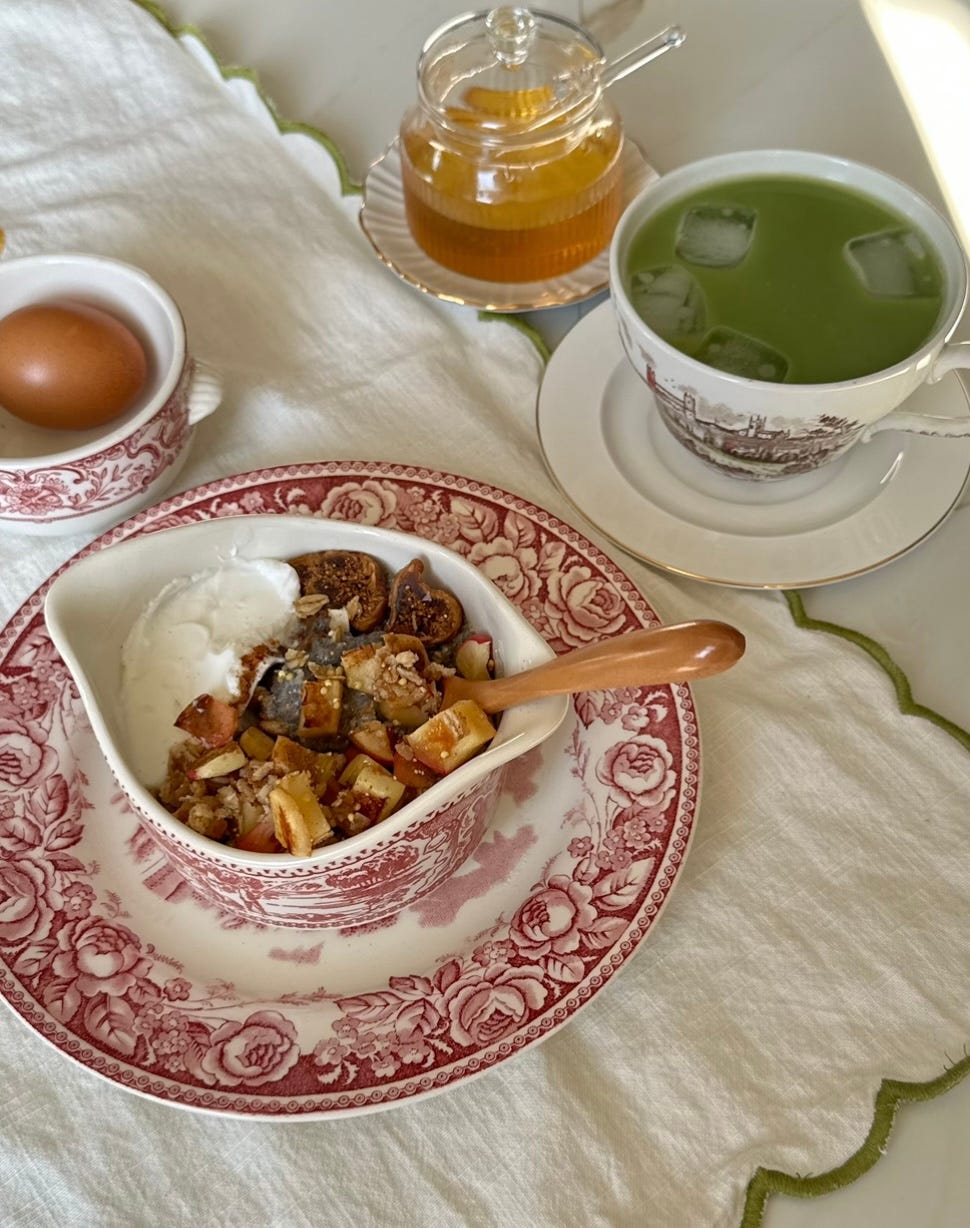
Roasted Apple and Cinnamon Chia Seed Pudding with Plain Coconut Yogurt and Homemade Granola
This protein-packed chia pudding is infused with roasted apples, cinnamon, and a touch of sweetness, making it a perfect breakfast or snack that’s both satisfying and gut-friendly.
Ingredients:
- 2 apples, peeled, cored, and diced
- 1 tsp cinnamon
- 1 tbsp honey or maple syrup
- 1/4 cup chia seeds
- 1 scoop vanilla protein powder (plant-based)
- 1 cup unsweetened coconut milk
- 1 cup plain coconut yogurt
- 1/2 cup homemade gluten-free granola
Instructions:
1. Preheat the oven to 375°F (190°C). Toss the diced apples with cinnamon and honey or maple syrup. Spread on a baking sheet and roast for 20-25 minutes, stirring occasionally, until tender and caramelized.
2. In a bowl, whisk together chia seeds, protein powder, and coconut milk. Stir well to prevent clumping. Let sit for 5 minutes, then stir again to ensure the seeds don’t stick together. Cover and refrigerate for at least 4 hours or overnight.
3. Once the chia pudding has set, layer it in bowls or jars with roasted apples, plain coconut yogurt, and homemade granola.
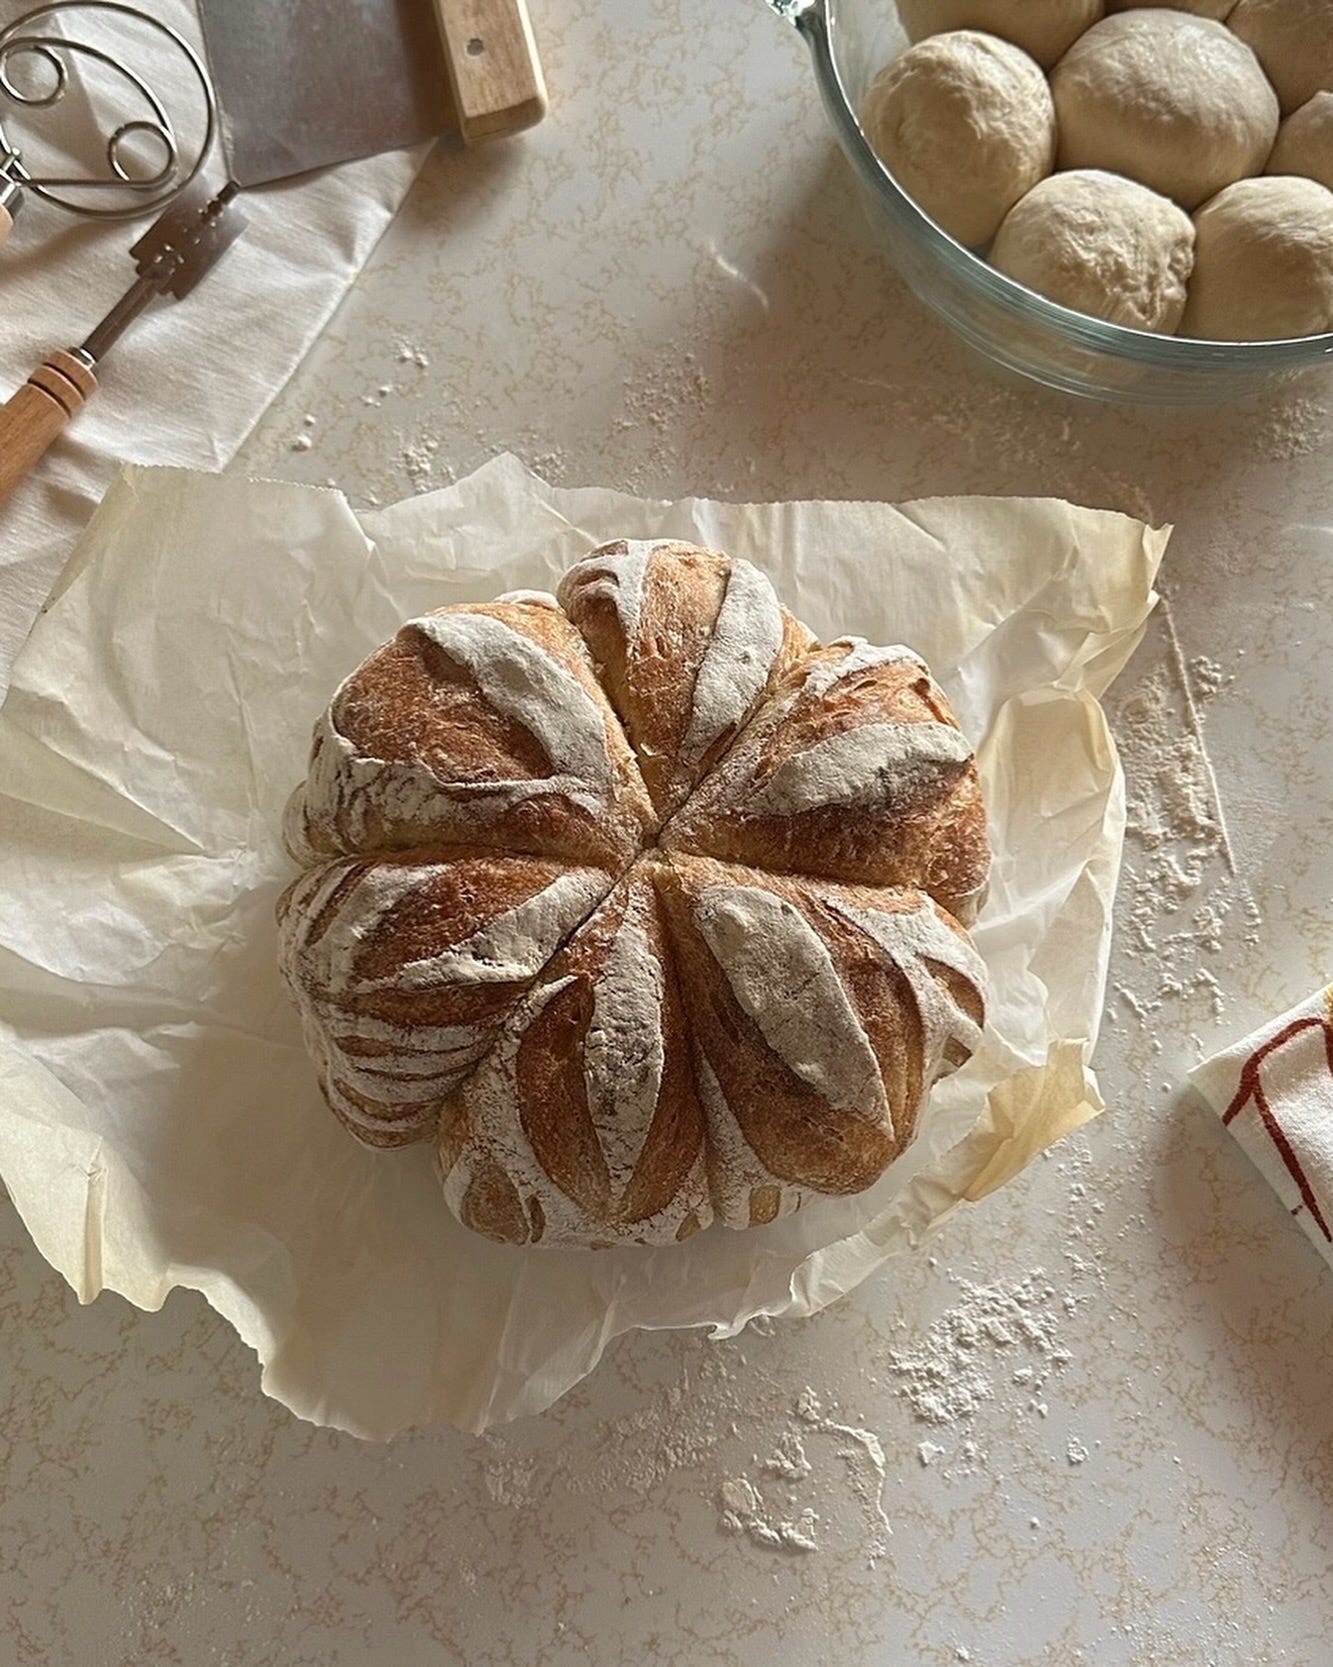
Easy Gluten-Free Sourdough Loaf
A gluten-free version of the classic sourdough loaf, fermented for improved digestibility and flavor. This loaf is perfect for any meal and pairs well with butter, soups, or even as toast.
Ingredients:
- 1 cup gluten-free sourdough starter
- 3 cups gluten-free bread flour
- 1 1/4 cups filtered water
- 1 tsp sea salt
Instructions:
Mix the dough
In a large mixing bowl, combine the gluten-free sourdough starter, gluten-free flour, water, and sea salt. Stir with a wooden spoon until a sticky dough forms. You may need to adjust the water slightly depending on the consistency of your starter, but the dough should be slightly sticky.
2. First fermentation
Cover the bowl with a clean kitchen towel and leave the dough at room temperature for 12 hours. This allows the dough to ferment and rise, creating a more flavorful and easier-to-digest loaf.
3. Second fermentation in the fridge
After the initial rise, transfer the dough to the refrigerator and let it ferment for another 12 to 24 hours. This slow fermentation deepens the flavor and makes the loaf more gut-friendly.
4. Shape the dough
When you’re ready to bake, remove the dough from the fridge and allow it to come to room temperature (about 1-2 hours). Dust your work surface with gluten-free flour, then gently shape the dough into a loaf. Be careful not to overwork the dough, as gluten-free dough is more delicate.
5. Proof the loaf
Once shaped, let the loaf rest and proof at room temperature for another 1-2 hours, covered with a kitchen towel.
6. Preheat the oven
Preheat your oven to 425°F (220°C). Place a Dutch oven or a heavy baking sheet inside while the oven heats. If using a Dutch oven, allow it to heat for at least 30 minutes to get the right crust texture.
7. Bake the loaf
Gently transfer the dough into the preheated Dutch oven or onto the hot baking sheet. If using a Dutch oven, cover it with a lid. Bake the loaf for 30 minutes, then remove the lid (if using) and bake for an additional 15 minutes to allow the crust to brown.
8. Once the loaf is golden brown and sounds hollow when tapped, remove it from the oven. Let the loaf cool completely on a wire rack before slicing. This cooling time allows the crumb to set, preventing a gummy texture.
Lemongrass Grass-Fed Beef Bone Broth
A rich, nutrient-dense bone broth made from grass-fed beef bones and infused with lemongrass for a refreshing, gut-healthy twist. Perfect for sipping on its own or using as a base for soups.
Ingredients:
- 2 lbs grass-fed beef bones (with some marrow)
- 2 stalks lemongrass, smashed with the back of a knife
- 1 onion, quartered
- 4 garlic cloves, smashed
- 1 tbsp apple cider vinegar
- 1 tsp sea salt
- 10-12 cups filtered water
- Optional: Carrots, celery, or other aromatics for extra flavor
Instructions:
1. Prepare the bones
Place the beef bones on a baking sheet and roast them in the oven at 400°F (200°C) for 30 minutes, turning once halfway through. This roasting step enhances the flavor of your broth.
2. Simmer the broth
Transfer the roasted bones to a large stockpot or slow cooker. Add the lemongrass, onion, garlic, apple cider vinegar, and sea salt. Cover with filtered water, making sure the bones are fully submerged.
3. Cook low and slow
Bring the mixture to a boil, then reduce the heat to a low simmer. If using a slow cooker, set it on low. Simmer the broth for 24-48 hours, skimming any impurities that rise to the surface during the first few hours. The longer you simmer, the more nutrients and collagen you’ll extract from the bones.
4. Strain
Once the broth has reached your desired richness, strain out the bones and aromatics using a fine-mesh strainer or cheesecloth.
5. Allow the broth to cool, then store it in glass jars in the fridge for up to a week, or freeze for longer storage. Reheat as needed and enjoy!
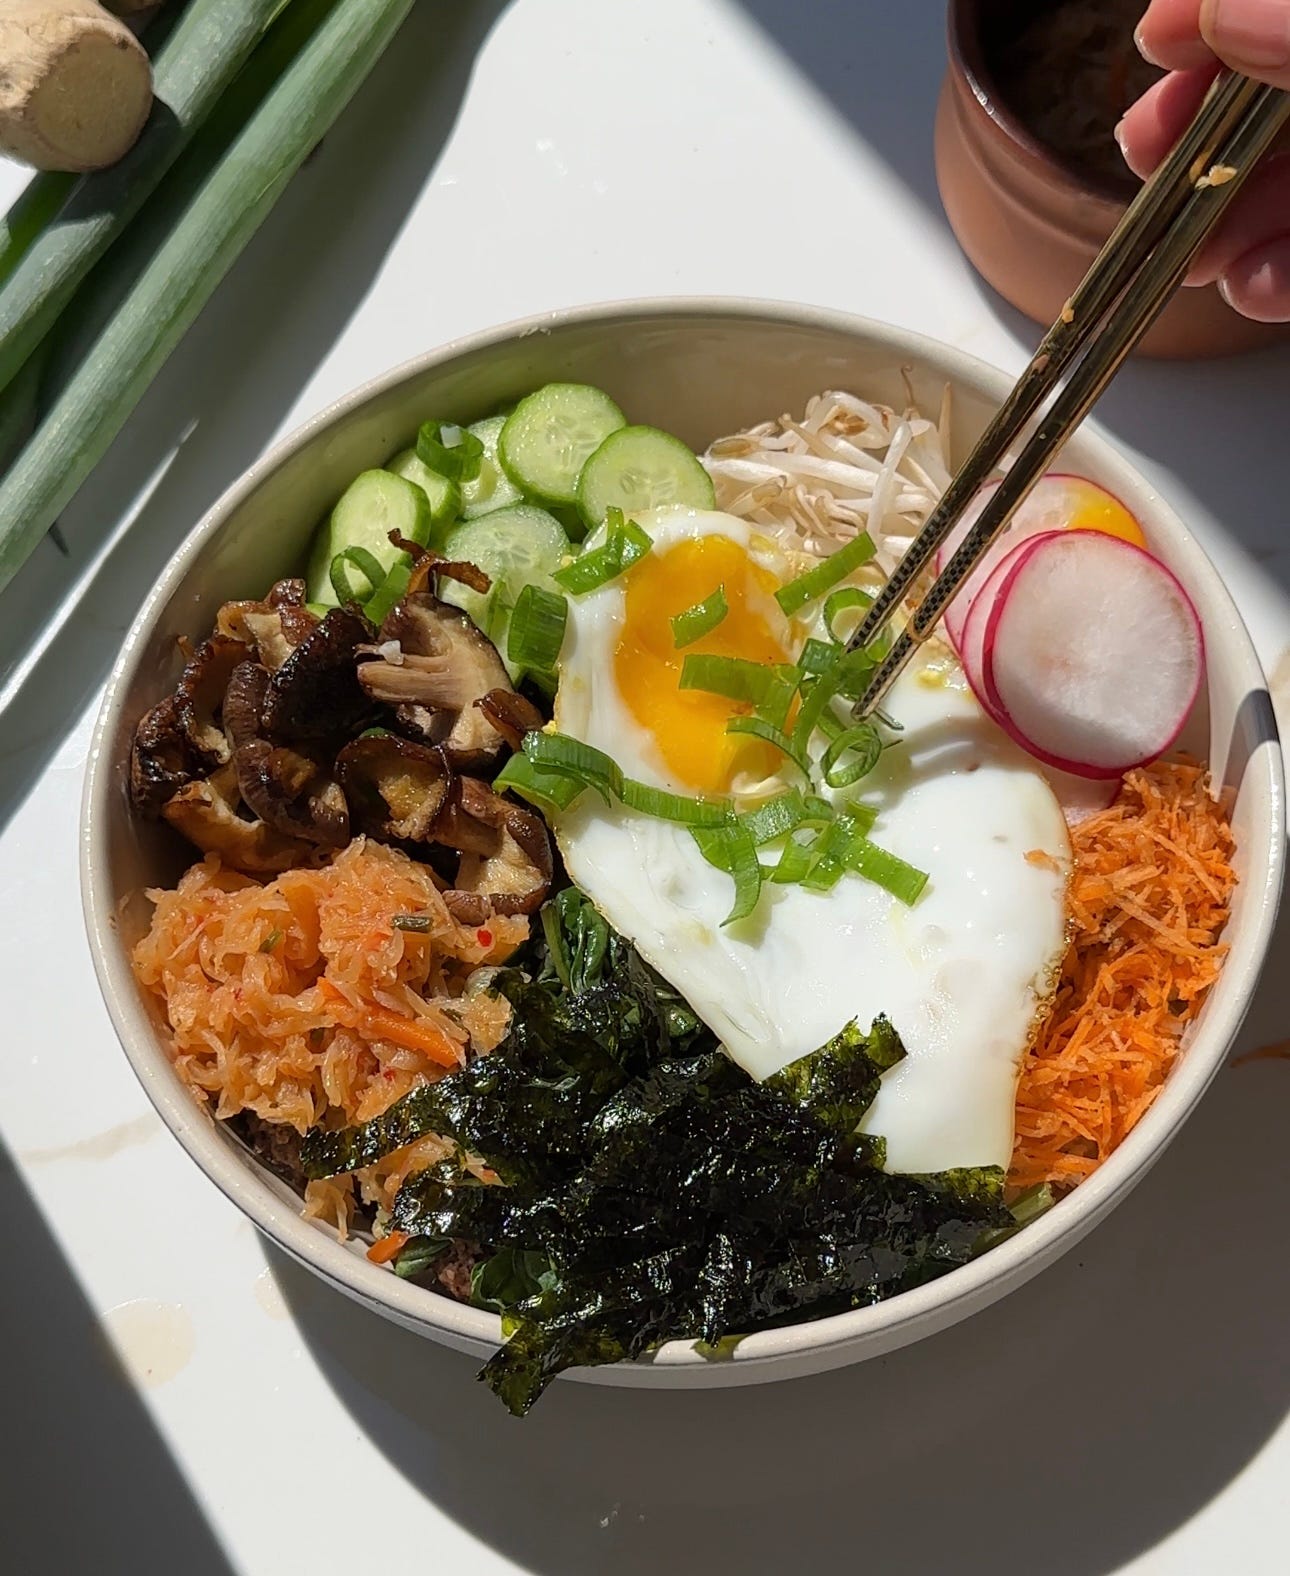
Kimchi Bibimbap Bowl with Cauliflower Rice and Grass-Fed Beef
This gut-healthy version of bibimbap uses cauliflower rice and kimchi, making it gluten-free and low-carb while packing in flavor and nutrients. Perfect for lunch or dinner.
Ingredients:
- 1 lb grass-fed ground beef
- 2 cups cauliflower rice (store-bought or homemade)
- 1 cup kimchi
- 1 tbsp sesame oil
- 1 tbsp tamari (or coconut aminos for a soy-free option)
- 1 tbsp gochujang (Korean chili paste) or a chili sauce of your choice
- 1 egg (optional)
- 1 green onion, chopped (for garnish)
- Sesame seeds for garnish
Instructions:
1. In a large skillet, heat the sesame oil over medium heat. Add the ground beef and cook until browned, breaking it up into small crumbles as it cooks. Stir in the tamari and gochujang to flavor the beef, and cook for an additional 2 minutes.
2. While the beef is cooking, prepare the cauliflower rice. If using fresh cauliflower, pulse florets in a food processor until they resemble rice. Sauté the cauliflower rice in a separate skillet over medium heat with a little sesame oil for 5-7 minutes, or until tender.
3. Divide the cauliflower rice into bowls, then top with the cooked beef, a spoonful of kimchi, and any additional toppings you like (such as a fried egg, chopped green onions, and sesame seeds).
4. Serve immediately, mixing everything together to enjoy the full flavor of the bibimbap.